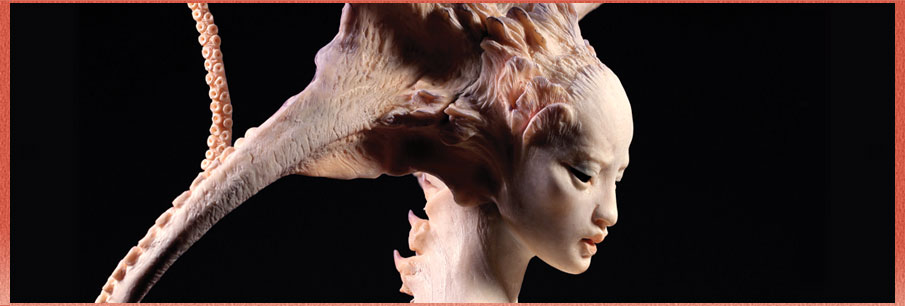
Friends, a couple of additional Kato Polyclay considerations & cautions:
Prototyping: Kato clay has behaved fine for me with tin-based silicon mold materials (when creating prototypes) but it seems to interfere with platinum-based silicons setting up. I’m currently using grey firm Sculpey mixed with translucent Premo for prototyping.
Larger scale projects: when creating something with some bulk, there can be cracking if sections are too sizable & built over another material and there’s not enough give for subtle expansion & contraction (or so I explain it to myself). It’s another reason to build in sections. It is also more time-consuming to build large in this very firm clay. For some larger pieces, I might recommend another clay, like Premo. More to come on this.
Kind Friends, here at last is a real start on this ‘how-to’ info page. Sorry for the long delay!
I’ll just start with some basic information about the polymer clay I use most frequently. All additions via comment most eagerly welcomed!
Kato Polyclay is my main polymer clay these days. Why? It’s strong, and thin, delicate parts are slightly flexible when cured. Super Sculpey is great for some things and manyartists use it to excellent effect, but it tends to be brittle and for very delicate pieces, I like some flexibility in the material.
A thin part example: Grandmama would likely have been bob-tailed by now had I used a brittle clay for her appendages:
A little flexibility worked wonders for Grandmama.
Also, I often re-bake a piece many times, adding detail or changing my mind. Kato Polyclay color may shift a little when re-cured many times, but it does not burn easily, and gets stronger upon re-baking. Some complex pieces that go through a lot of revision -- dino prototypes for the Carnegie Museum of N.H., for instance -- may get baked a few dozen times. Because I’m often working at a small scale on things that will need to stand up on their own and I therefore handle the freestanding model a lot as I work on it, I need to cure areas to avoid squashing them as I work. The Carnotaurus’ skin is an example:
The prototype of the Carnegie Museum of Natural History's Carnotaurus model, in Kato Polyclay. Created with direction of experts Matt Lamanna and Sara H. Burch
If the piece is quite complex, I may sculpt it over an armature that comes apart in one or more places, so that I can cure it in several parts, and not reheat the entire object every time.
An example below, the Fish from Versailles - she was begun in three parts, so as not to subject the whole to unnecessary re-bakes:
Curing this piece in sections was extremely helpful. The divisions were easily concealed at completion.
I mix my clays using a food processor. Mine is a full-sized Black & Decker that has lasted me a good 15 years thus far. If I’m mixing clay colors, I add them all in a little at at time, and process till it is warm and looks sort of like popcorn. After mixing, I run enough to work with through a hand-cranked pasta machine until it is smooth in texture and in color.
For maximum workability in sculpting, I always mix a high percentage of “Translucent” color Kato clay with any color I’m use. In fact, it’s more that I mix some colored clay into a main body of translucent. I find the translucent is much more malleable, and for what I do, that’s much more important that intense clay color. I don’t think this is just the Kato clay. I used Classic Fimo exclusively for years and found the same thing with that brand. I assume the increased malleability is because the translucent clays are not loaded with pigment. For many figures, I use translucent with just a little white mixed in. For greater surface visibility on detailed prototypes destined for casting, like the Carnegie dinos, I mix white and brown or black with my translucent to get a more opaque, neutral working surface.
To make an extra soft clay, I sometimes mix in some liquid Kato polyclay in at the food-processor stage. Too much liquid clay can get a bit sticky, so go slowly and test a sample.
